Now that you’ve linked up your website to your Teachable courses, uploaded your course content, and created your sales page, it’s time to set up your payments. Then you can start selling your course.
Set up your payments to start selling
At Teachable, we offer two native payment gateways:
1. teachable:pay is available for members who reside in a number of countries. See if your country is eligible here.
2. Monthly Payment Gateway is available for members who reside outside the United States, Canada, or the United Kingdom. If you are ineligible for teachable:pay, then Teachable’s Stripe Monthly Payment Gateway will be available on your school for credit/debit card purchases. Learn more about eligibility here.
Set up teachable:pay
Teachable:pay uses Stripe Express to process credit and debit card transactions. But, if you already have a Stripe account for your current online business, please note that you will have to create a separate one on Teachable.
Here’s how to set up your Teachable:pay.


- Log in to your school
-
Navigate to Settings > Payments in your school admin.
-
Choose your country from the dropdown menu, if it’s one eligible for teachable:pay you will move on to the next setup step.
-
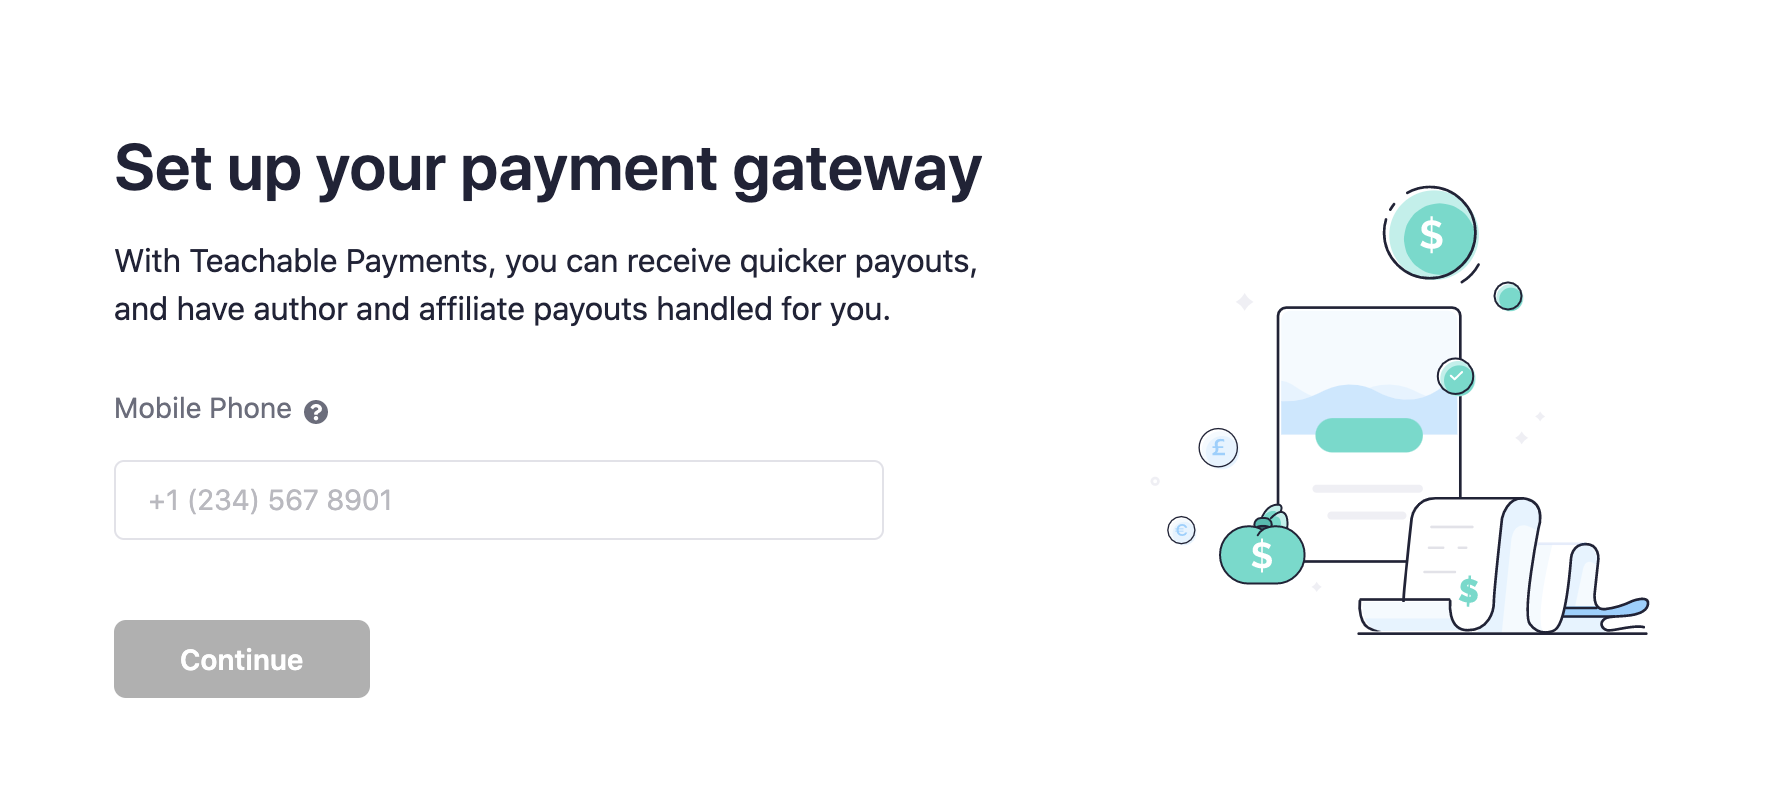
Enter your phone number and click Set up teachable:pay to start your payments onboarding.
-
Fill out the information about your business, annual earnings, tax filing status, etc.
-
You’ll be redirected to Stripe’s interface to complete your Stripe Express account registration.
-
Once that’s done, you’ll be redirected back to the Teachable platform.
-
Decide how often you would like to get paid out: daily, weekly, or monthly.
-
Enroll in BackOffice (for more information, see below).
-
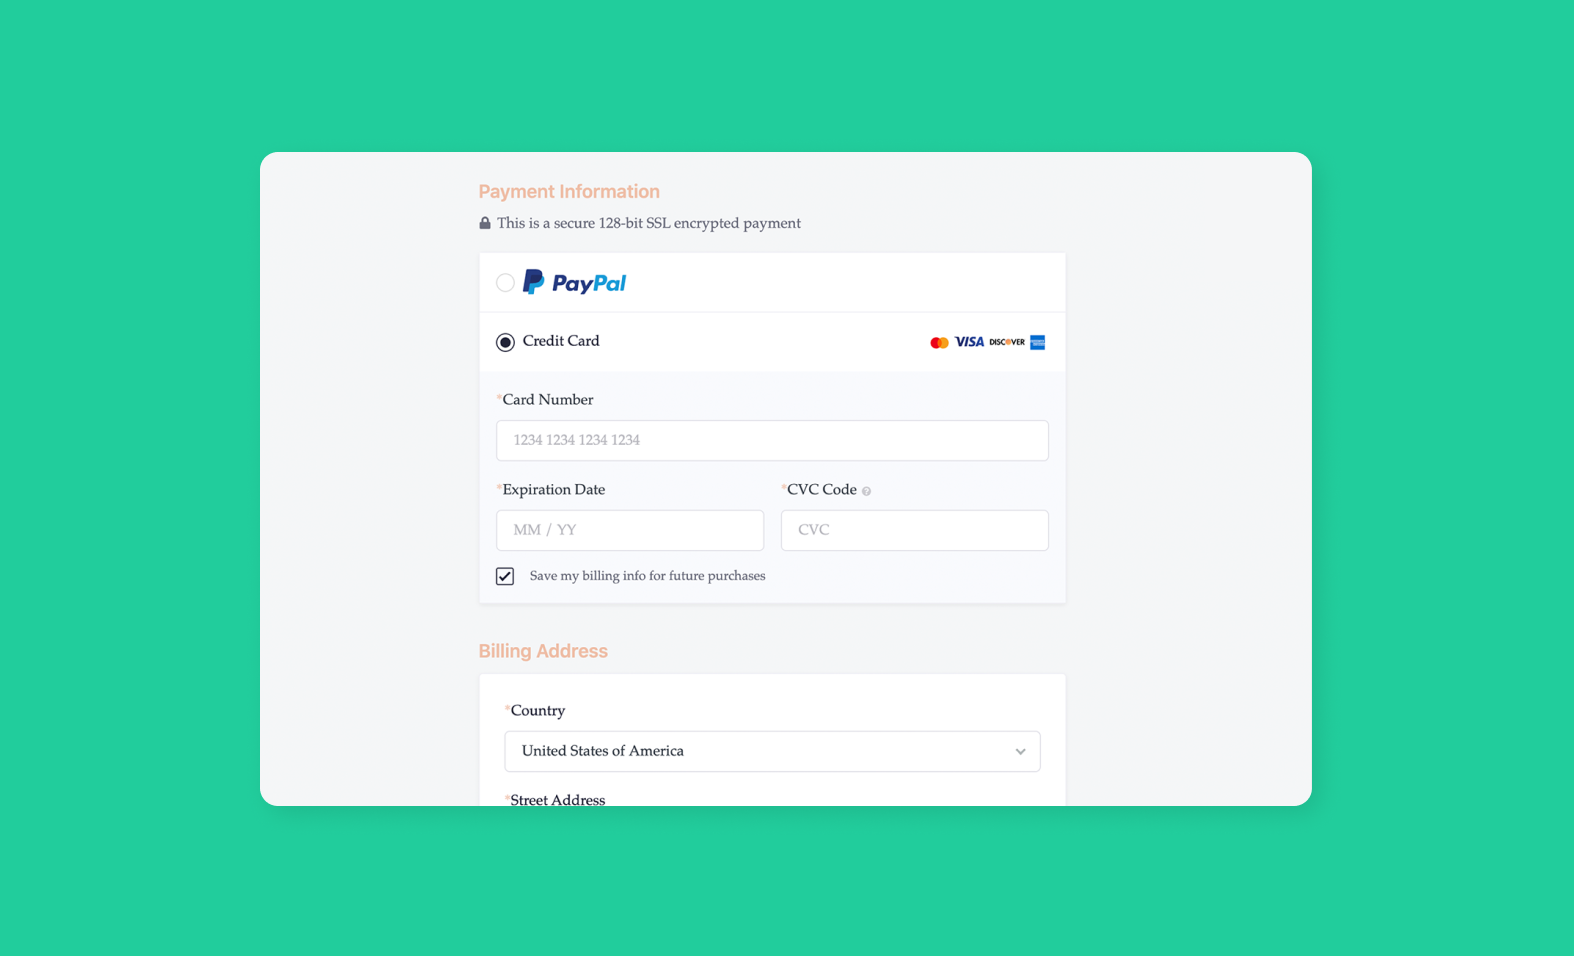
Offer PayPal as a payment option for your students.
That’s it—you’re all set up. Now, you can access your Stripe Express dashboard by clicking View Payout Dashboard in Settings > Payments > Accepts Credit Card Payments. You’ll be able to track your payouts under the Payouts tab and see which bank account your payouts will be sent to under Account.
Payouts on teachable:pay
You’ll be paid out based on the frequency you chose during your onboarding process. First-time payouts usually take 7 to 14 days but can take longer in some cases. And then, any subsequent payouts will occur within the schedule you’ve specified.
For more specifics on the payouts breakdown and other fees, please read our Knowledge Base article.
Set up Monthly Payment Gateway


However, if you aren’t eligible for teachable:pay, the Monthly Payment Gateway will become your default gateway. To start your payment onboarding process, navigate to Settings > Payments of your school admin.
Here’s how you set up Monthly Payment Gateway:
-
Provide your PayPal email address.
-
Let us know what your tax filing status is.
-
Enable/disable BackOffice (for more information, see below)
-
Share your course information.
You’re set up!
Payouts on Monthly Payment Gateway
Due to Teachable’s 30-day refund policy for courses, all payouts will be sent out in USD to your PayPal account on the first of every month (or the next business day if the first lands on a weekend or US holiday).
For example, if you make a sale in January, you would receive those funds from Teachable on March 1. Then, on April 1, you’ll be paid for sales made in February, and so on. For more specifics on the payouts breakdown and other fees, please check out our Knowledge Base article.
Additional support: Filing EU-VAT and fighting chargebacks
As an online business owner, you may already be familiar with the European Union Value Added Tax—or VAT for short. It’s a tax charged on purchases made by customers in the EU. Because you’re on our payment gateways, we’ll be collecting and remitting EU-VAT for all transactions on your behalf at no extra cost.
Additionally, by using our native payment gateways, you can offer your audience mobile pay, so they can pay and enroll in your courses wherever they are—even if they’re on their cell phone.
We also know how chargebacks can affect your business. That’s why if you’re on our payment gateways, we automatically fight chargebacks for you with all the information the bank requires—receipt, student login information, etc.—to support your claim.
Enable BackOffice: Suite of financial tools
Now, for business owners, income comes in many forms. This includes content, marketing partnerships, authors and/or affiliates. And, handling payouts and tax forms for authors and affiliates in addition to your own finances can be a huge headache. That’s why Teachable offers BackOffice.
For an additional 2% transaction fee, you can enable BackOffice to have Teachable:
-
Handle all your author and affiliates payouts so you don’t have to do any additional accounting
-
Collect W-8/W9s and file 1099 tax forms for you, your authors, and your affiliates
-
Offer PayPal as an additional payment option for your students
Keep track of what you need to do to set up your payments on Teachable.

